What is a bottle garden and how does it work?
A bottle garden is a mini ecosystem in a glass, sealed airtight. After creating the Flaschengarten, it can exist independently for decades and does not require any further additions from the outside apart from daylight.
To understand how a bottle garden actually works, let's take a step-by-step look at the natural processes in nature. The decomposers in the soil live on dead parts of the plants and form carbon dioxide and nutrients for the plants while consuming oxygen. With carbon dioxide, the plant uses light energy and water to carry out photosynthesis, producing oxygen and sugar in the process.
The water cycle also plays a major role in creating a bottle garden. The plants evaporate the water through their leaves. The water flows back into the soil via the glass wall and is then absorbed again by the roots.
When creating a bottle garden, it is important that you choose the right plants and the optimal location. Unfortunately, you can't plant every plant in your bottle garden. Some cannot stand the high humidity, others grow too big for the small biotope.
It can't be done without moss

The most important thing in your ecosystem is the moss. It stores the water in the bottle garden and releases it again during the day. The water balance in the glass is regulated by the evaporation of the water from the moss.
Sphagnum moss, java moss and star moss are best suited. Sphagnum moss absorbs a lot of water and creates an optimal climate.
Native plants
You can also fill your bottle garden according to our local forest. In the forests you will find some ivy and fern species. These plants are ideal for use in the bottle garden. It is important that you also take some soil from this area with you.
Therefore, there is a high probability that you will also pack some seeds and small animals. This will make your biotope come alive.
Tip: If you accidentally pack grass seeds with you, they can overgrow your bottle garden. After a short while you won't be able to see anything.
Tropical Plants
However, tropical, exotic plants are best suited. These are particularly happy about a humid and warm climate and are usually very robust. Succulents are less suitable for humid biotopes. They're used to a dry climate, so their soil shouldn't always be damp.
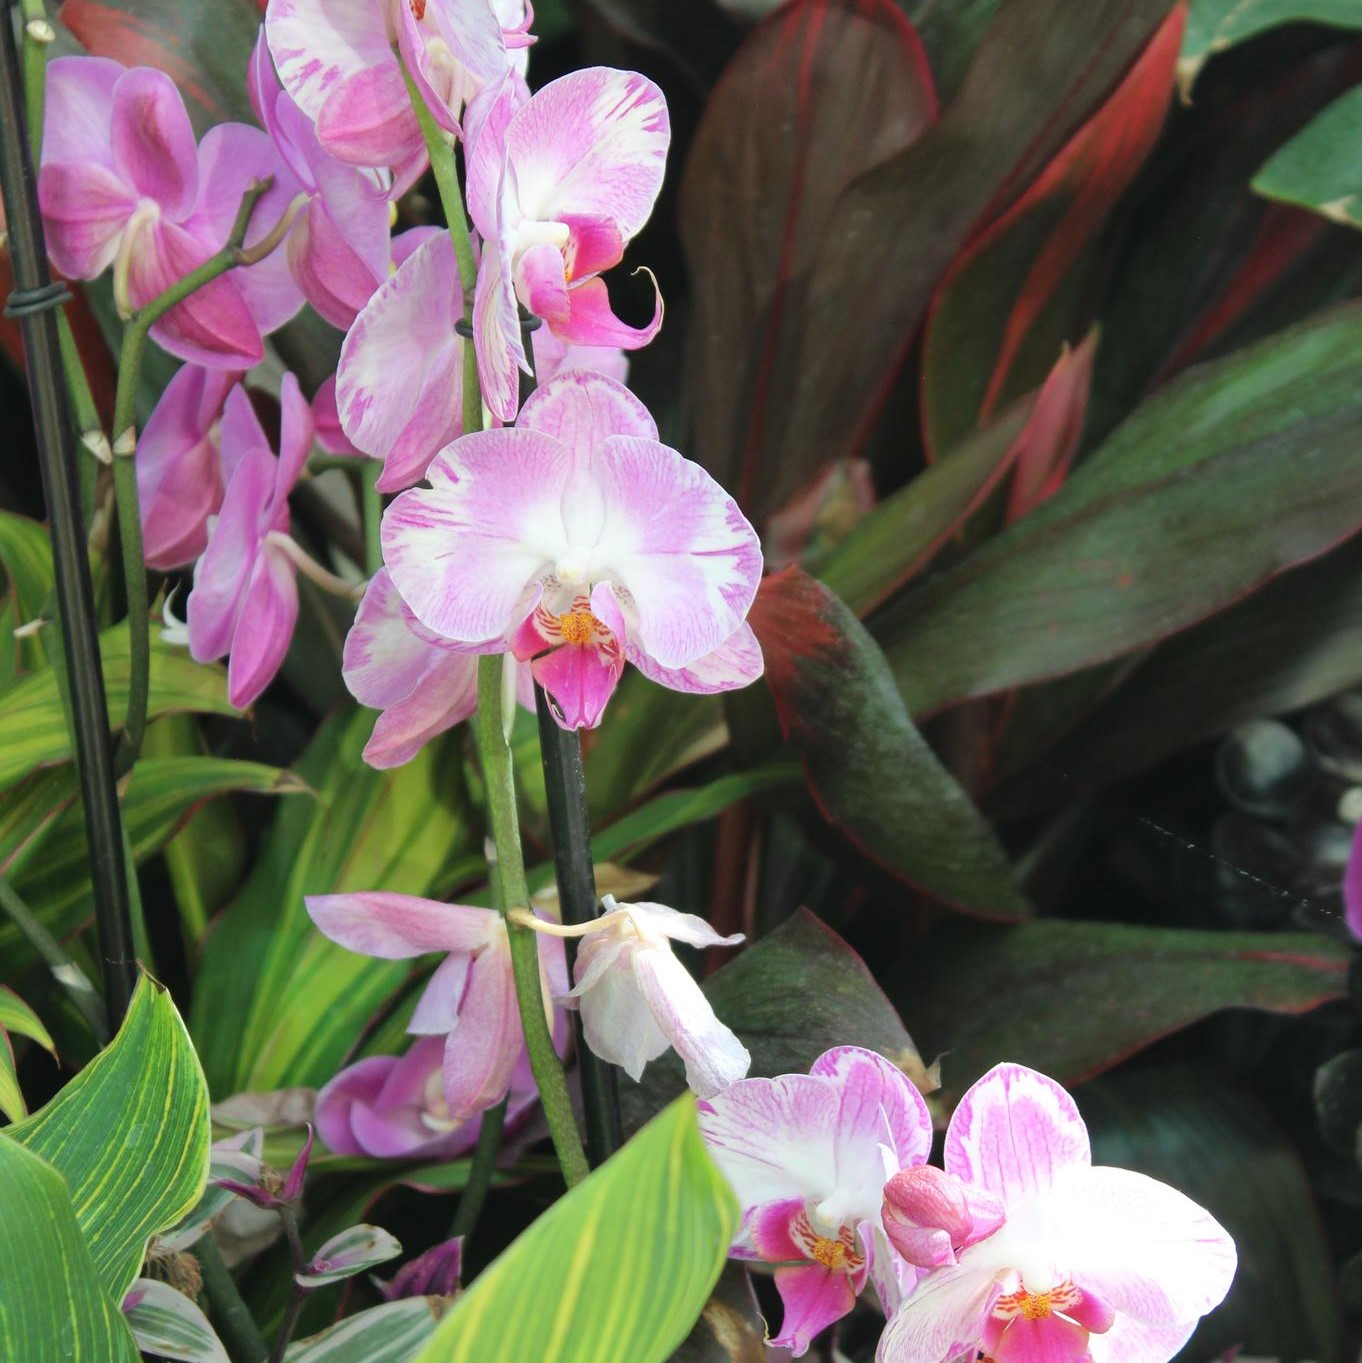
Bromeliads are very suitable for creating a bottle garden, they are used to tropical and subtropical areas. Mini orchids are also popular, there are an incredible number of species and they bloom beautifully. They do very well in bottle gardens due to the tropical climate. Popular species here are the white-flowered Aerangis citrata, Aerangis rhodostricta and the pink-colored Ascocentrum pusillum.
And of course ferns are just as popular and are ideal for creating a bottle garden. Small species are mainly Aglamorpha heraclae mini, Aplamorphameyeniana mini, Asplenum daucifolium and Davallia fejeensis.
Animal friends shouldn't be missing either
Small creatures are incredibly important when creating a bottle garden. Without them the whole ecosystem wouldn't work. White isopods or tropical springtails are a few millimeters in size, but can make a huge difference. These beneficial little creatures feed on dead plant matter and even mold.
You can easily get them in specialist terrarium shops, as they are also very popular as cleaning crews for tropical terrariums.
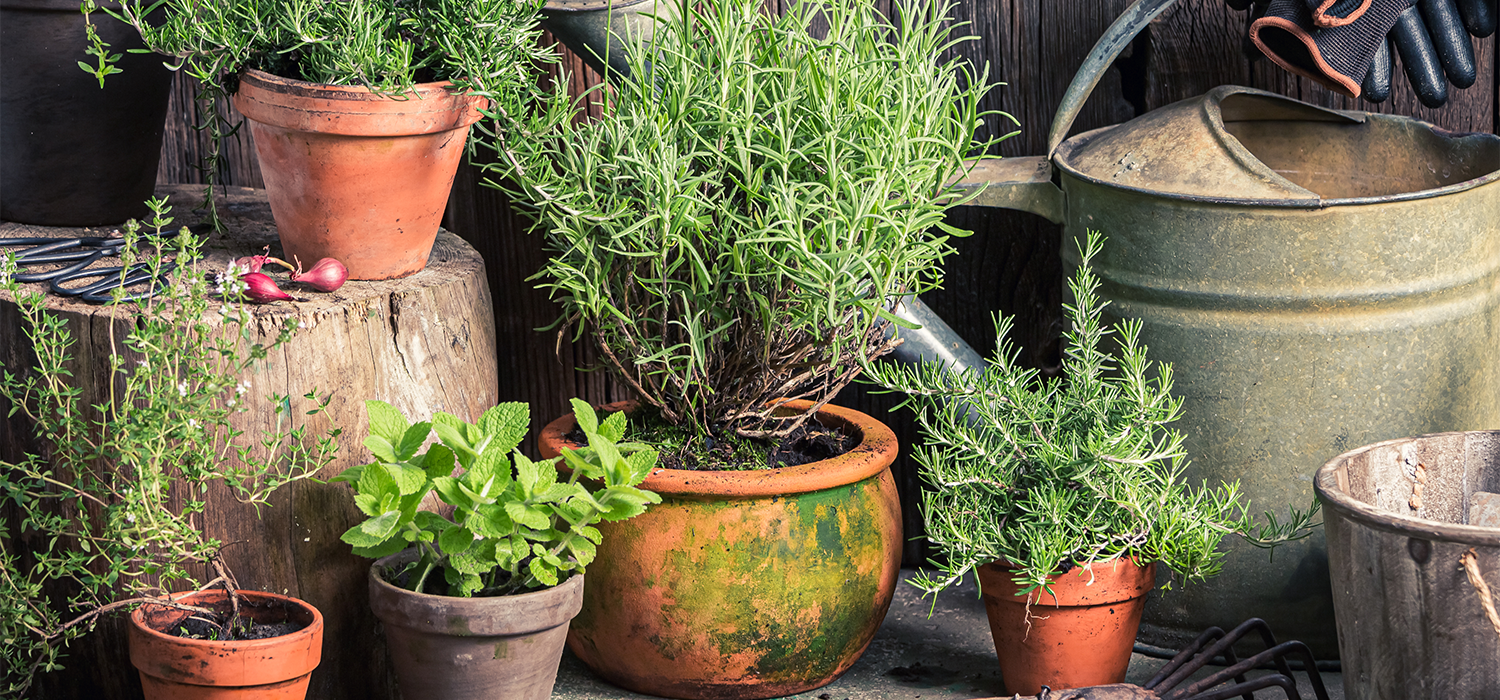
Step 1: Get material

Before you can create the garden in the glass, you first need all the materials. You need a clear glass container with a capacity of at least 2-3 liters or more. This mason jar works best here.
Depending on what you want and the size of the container, you need one or more suitable plants for your bottle garden. These include the bromeliads, orchids, mosses and ferns already mentioned above. You should make sure that the plants have about the same moisture and warmth requirements.
You need small pebbles with a grain size of less than one centimeter for drainage. The soil should not be missing when creating a bottle garden, choose the soil that suits the plants. So for a succulent bottle garden, the succulent soil and for tropical plants like houseplant soil.
If the glass used has a long thin neck, you will need a funnel, long tweezers or tongs, a long spoon or a stick to help. Optionally you can put some decorative elements like stones, bark or small branches in your bottle garden.
Step 2: Disinfect material
First of all, the vessel and stones must be disinfected with boiling water. You can put the stones in a cloth bag or sieve so that they don't disappear down the drain. Simply rinse the jar out with boiling water and it's ready to be filled.
Step 3: Filling with soil & gravel
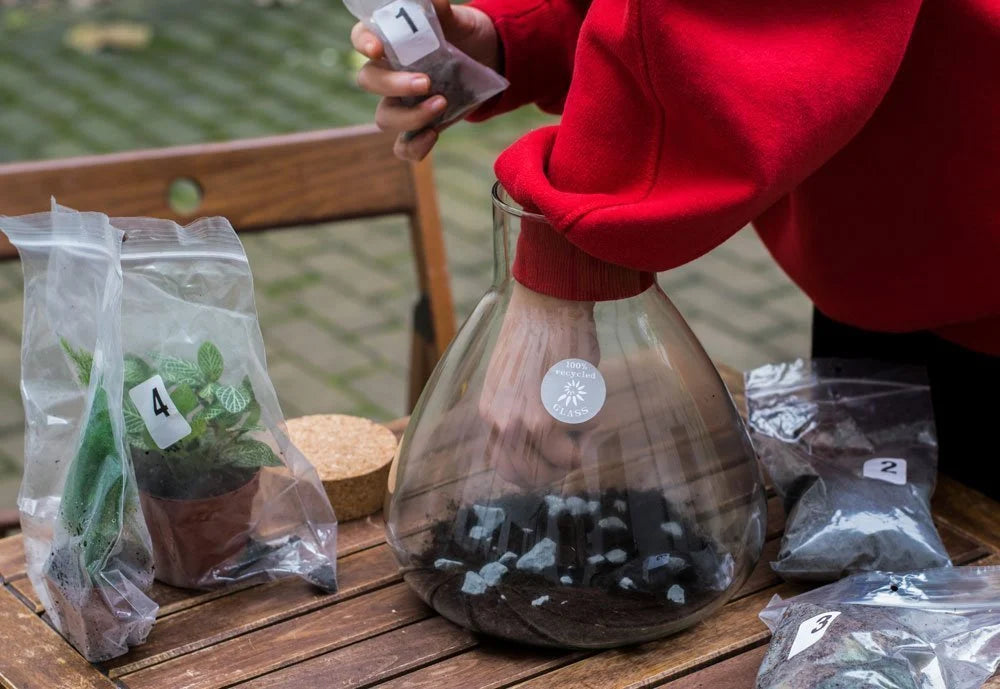
Now fill the glass with gravel or stones about 2 cm high, this is the base for the drainage. This is very important so that the earth does not stand in water all the time. Add a layer of soil about twice as thick on top. If you moisten them a bit, you can handle them better.
Tip: Put a thin layer of activated charcoal on top of the drain. In this way you prevent odors that can arise from the putrefaction process in the bottle.
Step 4: Fill with moss & plants
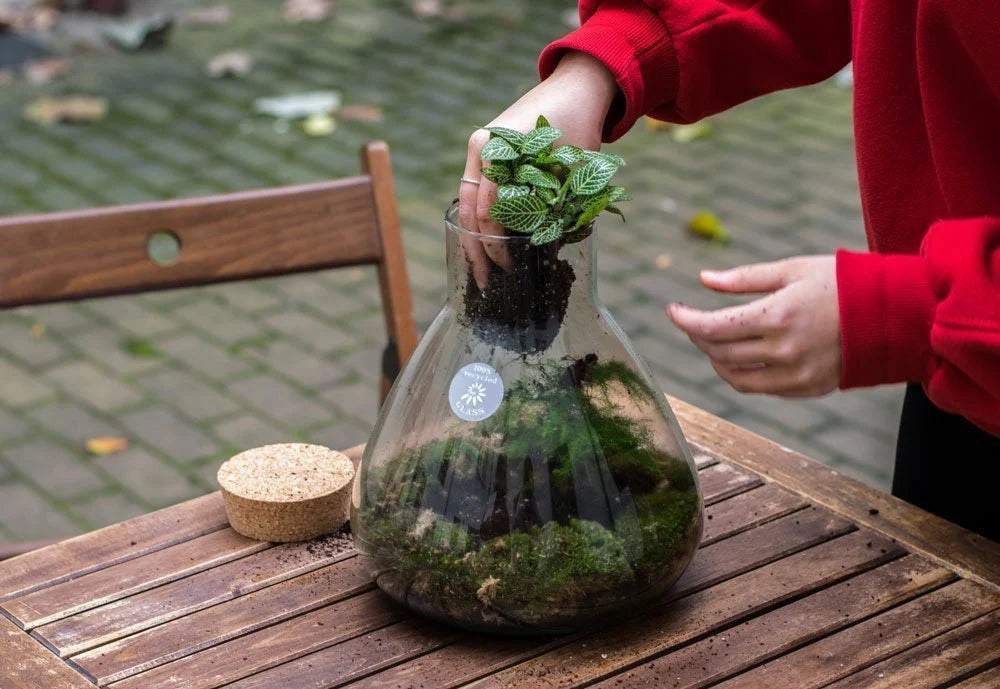
With the Bottle garden, of course, the plants should not be missing. Plants that need high humidity are particularly important. The thinner the neck of the bottle, the higher the humidity in your bottle garden.
Put the small soil ball of the plant from the growth spot in the bottle. Gently press down the soil and plants to ensure they stand securely. Put the pieces of moss on the surface as the last layer.
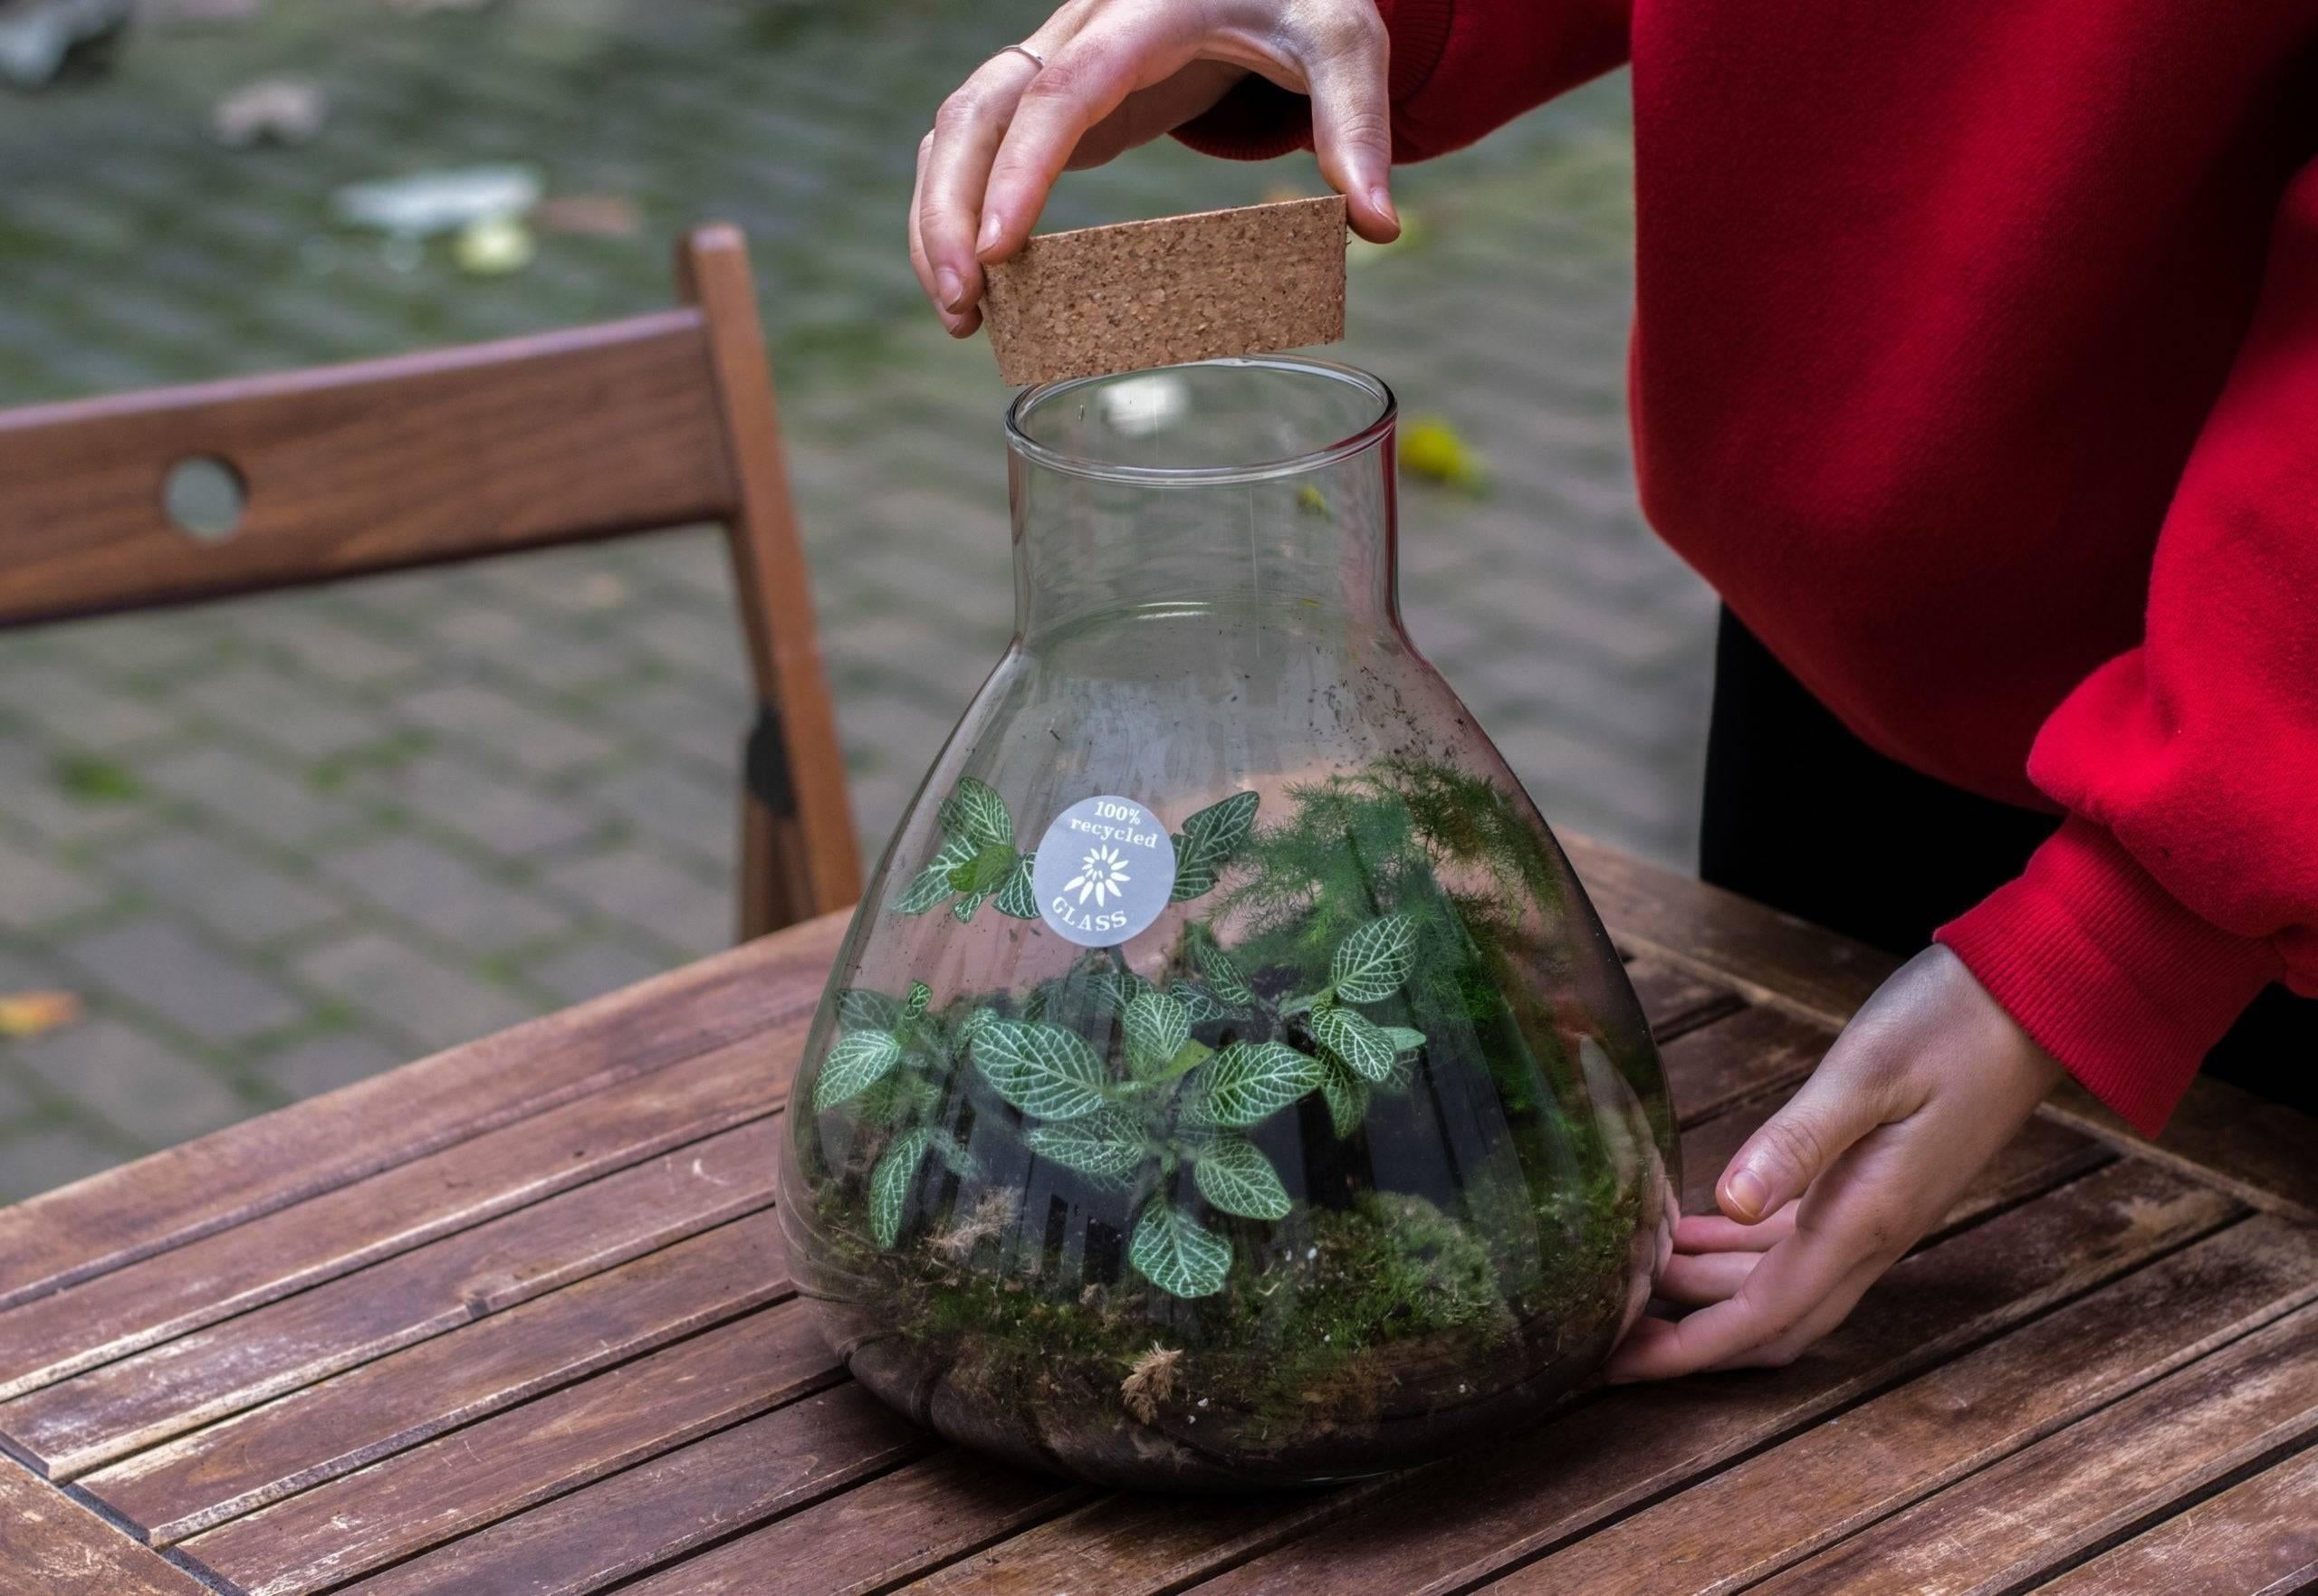
Step 5: pour, close the lid and enjoyn

After creating the bottle garden comes the watering. You can let the water run down the inner glass wall carefully, so you can remove dirt from the wall. The soil should be slightly damp, but the roots should not be submerged.
Creating a bottle garden can be so easy and also makes you happy. Close the lid and enjoy your own little ecosystem.
Tip: If there is too much water in the bottle garden jar, you can leave it open for a few days so that excess water can evaporate.
This is how you take care of your bottle garden
As you can see, creating a bottle garden is not difficult at all and is a lot of fun. You should continue to monitor your bottle garden and see if anything changes.
A bright spot is important for your bottle garden, but make sure it's not in direct sunlight. Place it in a clearly visible position so that you can see what is going on inside. This can be very exciting and instructive, especially for children.
After creating your bottle garden, you should observe it for a few days.If the inside of the jar steams up in the morning but dries during the day, you have measured the right amount of water. If the water condenses throughout the day, the jar should be left open for a few days. If there is no dew to be seen, you can water some more.
We also have different bottle gardens in our shop! Check us out!
.


Leave a comment